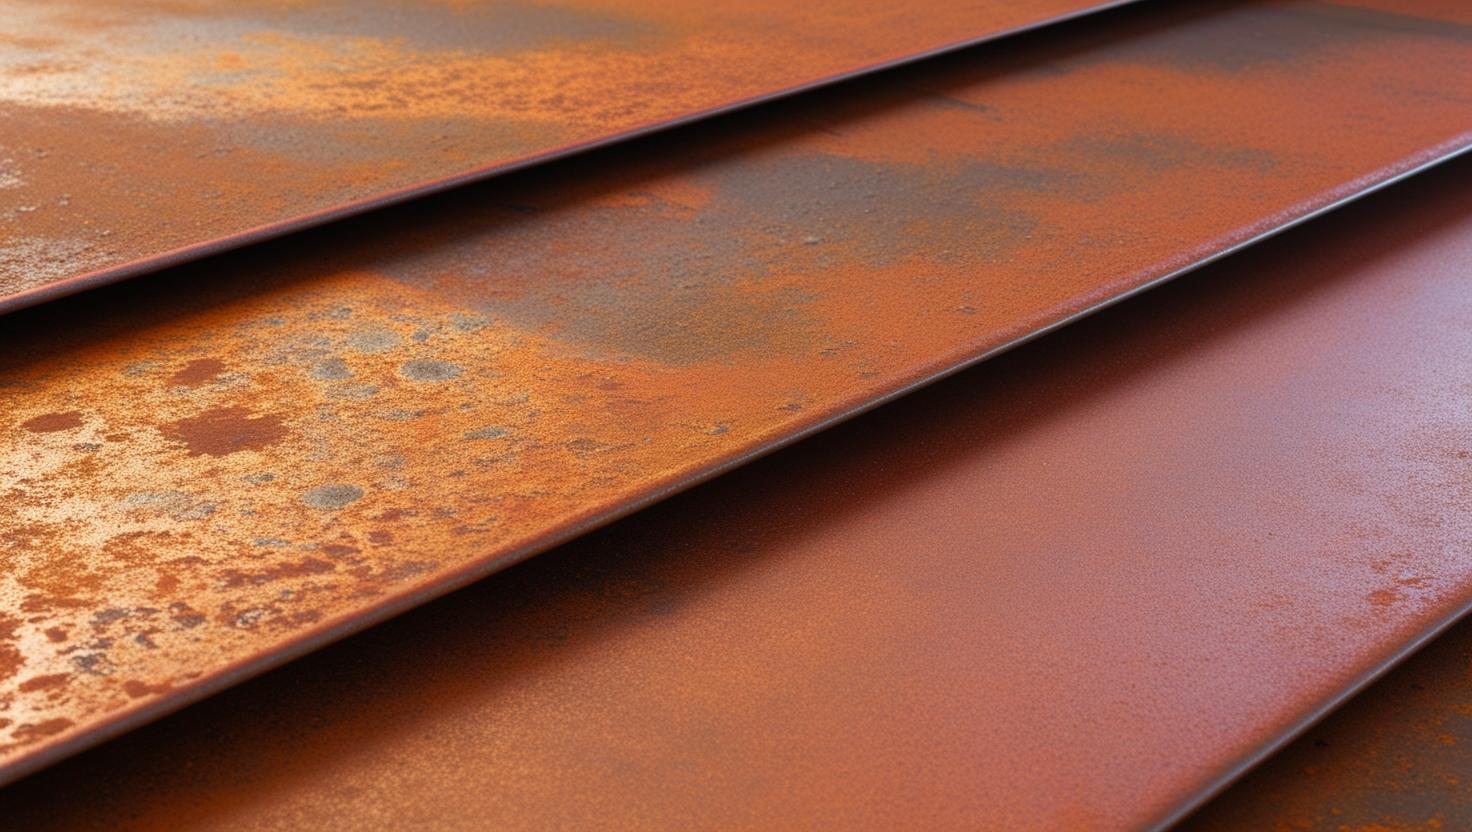
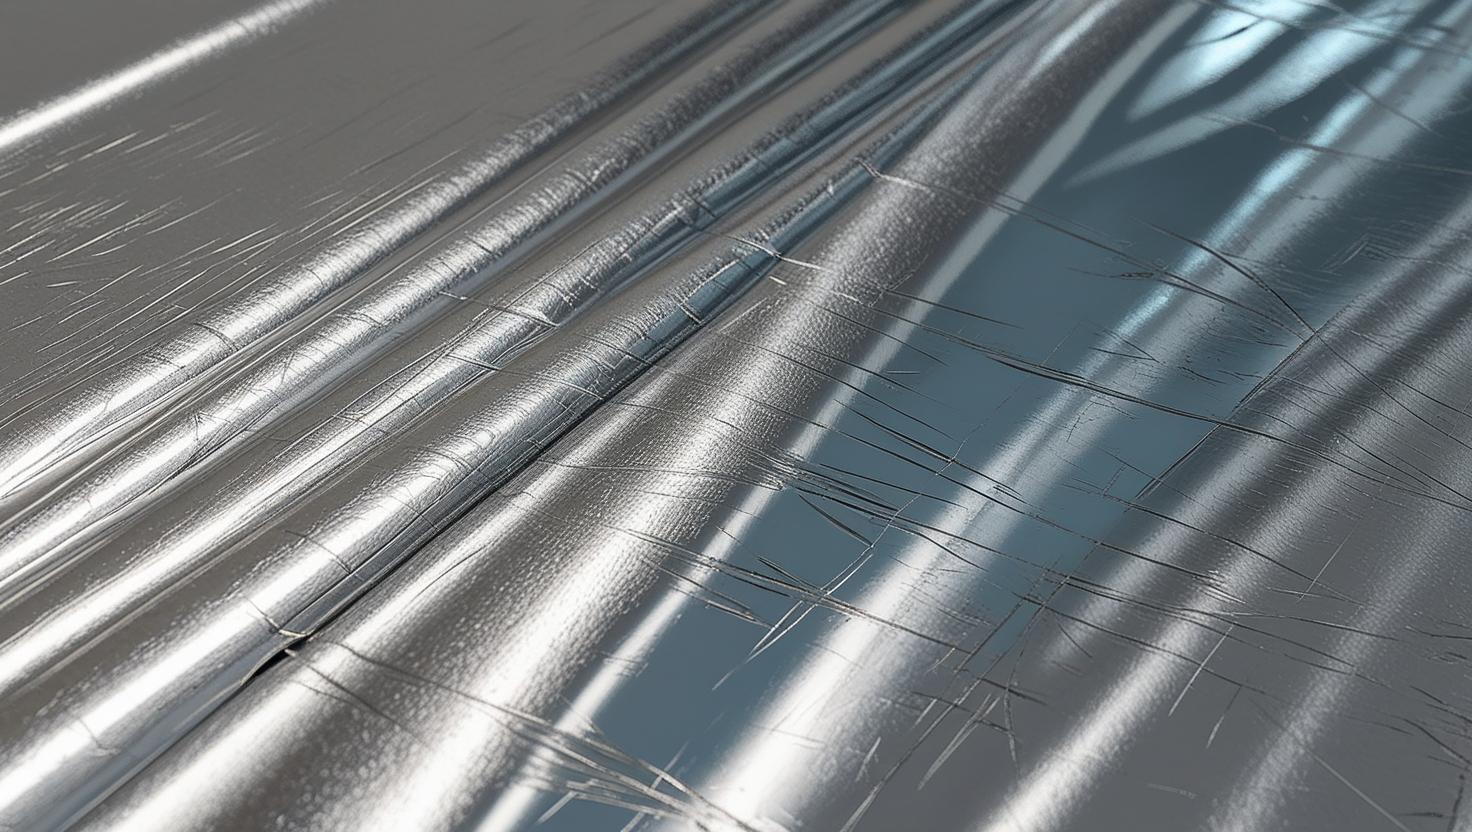
Oxidation is an ideal technique for adding visual appeal, depth of color, and a variety of textures to metalwork works when applied to thin metal sheets. Piercing, or representing precious metals. A regulated oxidation process can enhance the visual appeal of jewelry, jewelry findings, and ornamental and artistic items. The purpose of this lesson is to guide assemblers with varying levels of experience through the process of oxidizing sheet metal in a quick and efficient manner.

Understanding Oxidation
Metal corrosion typically involves the process of oxidation where a metal reacting with oxygen forms a new substance that has different color and touch. This can produce shades ranging from the light grey and blue to dark black and purple depending on the metal and oxidizing agent.
Types of Metals for Oxidation
Copper and Bronze: Known for developing rich, vibrant colors like blues, greens, and reds.
Silver: Often tarnishes to gray, bluish-gray or black metallic hue.
Brass: Can corrode to verdigris (green) colour.
Aluminum: Produces a range of blues, purples, and pinks.
Choosing Your Tools and Materials
Materials Needed
- Sheet Metal:Available products include Copper, Silver, Brass or Aluminum which one you desire to have.
- Oxidizing Agents:One can prepare the solutions like liver of sulfur, ammonia and salt or purchase it from a store in form of metal patina solutions.
- Equipment Used:Glove, safety glasses and eye protection, and enough ventilation in the working area is mandatory.
- Paper Towels or Cotton Swabs:Used in applying and removing of oxidizing solutions.
- Cleaning Agents:Vinegar or baking soda that can be used to clean the metal before and shortly after they have been exposed to the process of oxidation.
- Sealer or Wax:When it is totally dry then you can apply some type of sealer or wax on your finished piece.
Tools Required
- Tweezers or tongs
- Heat source (optional)
- Soft cloth or sponge
- A brush for cleaning
Step-by-Step Guide to Oxidizing Sheet Metal
- Preparing Your Workspace
First of all, prepare a proper location for carrying out experiments, because some of the reagents emit gases. Hands and eyes should be covered to avoid any direct contact with the compounds in case of a spillage onto the skin.
- Cleaning the Metal
The oxidation process will be effective based on the kind of surface of the metal that you have in your hands. You could use this with vinegar and salt or mild detergent to wash the surface with an aim of removing the oil and dirt on the surface. It is advisable to wash the surface with clean water and wipe it dry with a piece of clean cloth.
- Applying the Oxidizing Agent
Select the best oxidizing agent most appropriate for your project.
These are the common practices:
Method 1: Liver of Sulfur
- Mixing:Two main forms of liver of sulfur can be purchased. It exists in the form of powder, solution, and even crystalline form. First of all, it is required to mix the reagent in accordance with the instructions stated by the manufacturer.
- Application:Using the cotton swabs or brush dipped on the solution and gently apply on the parts of metal that need to be oxidized. In fact, the amount of solution which is added is also another way of regulating the intensity of the color.
- Readjustment of Colour:If you want even darker shades, then you should leave the solution on the metal for a longer period of time. When darker color is obtained, the best way to reduce it is to wash the item with a baking soda solution.
Method 2: Ammonia and Salt Solution
- Mixing:Add drops of ammonia solution into container and follow with salt into the mixture. The blend will evaporate; thus, it is advisable to conduct the experiment in an area with good ventilation.
- Instructions:Introduce the solution using a brush in the areas to be oxidized.
- Timing:Monitor changes of color and the solution should be removed once the color achieved is the right tone.
Method 3: Commercial Metal Patina Solutions

A commercial solution is definitely easy to use and gives nearly similar output in all executions. Often, the steps for applying the product are given the guidelines of spraying or brushing it onto the metal’s surface.
- Controlling the Process
Controlling the rate of oxidation is highly crucial because this is what will help one to achieve the intended impact. Try interchanging the applications times and methods such as using heat to advance the process and achieve different surface and depth of color.
- Neutralizing and Cleaning
When one is content with the color developed, it is good practice to stop the oxidizing agent from taking further action to further darken the sample:
- Neutralizing:Wash the metal in water or in the solution of baking soda in case you used liver of sulfur.
- Cleaning:Rinse the metal with mild soap and warm water to avoid having any chemical left on the metal surface, then drain and dry.
- Sealing the Oxidized Surface
To protect your design from further oxidation, apply clear sealer or wax. This should be done to every work especially if the paint will be touched often or will be placed outside.
Tips for Successful Oxidation
Test First: Always do a trial of the selected method on a scrap piece of the metal to know the impact of the process on the material.
Patience is the Answer: Always ensure that you carefully add up and blend or manipulate the colors as required.
Safety First: Before applying the Sodium bicarbonate always ensure you wear gloves while working on the compound in a well-ventilated area.
