Painting galvanized sheet metal, whether for professional purposes, such as commercial buildings or some personal carpentry projects, or for home improvement or errand running, is a very satisfying experience. In fact, painting galvanized metal is a little more complicated and has additional advantages because of its endurance and rust resistance. The main procedures for priming, painting, and preparing galvanized sheet metal for a long-lasting and attractive appearance are explained in this article.

Understanding Galvanized Sheet Metal
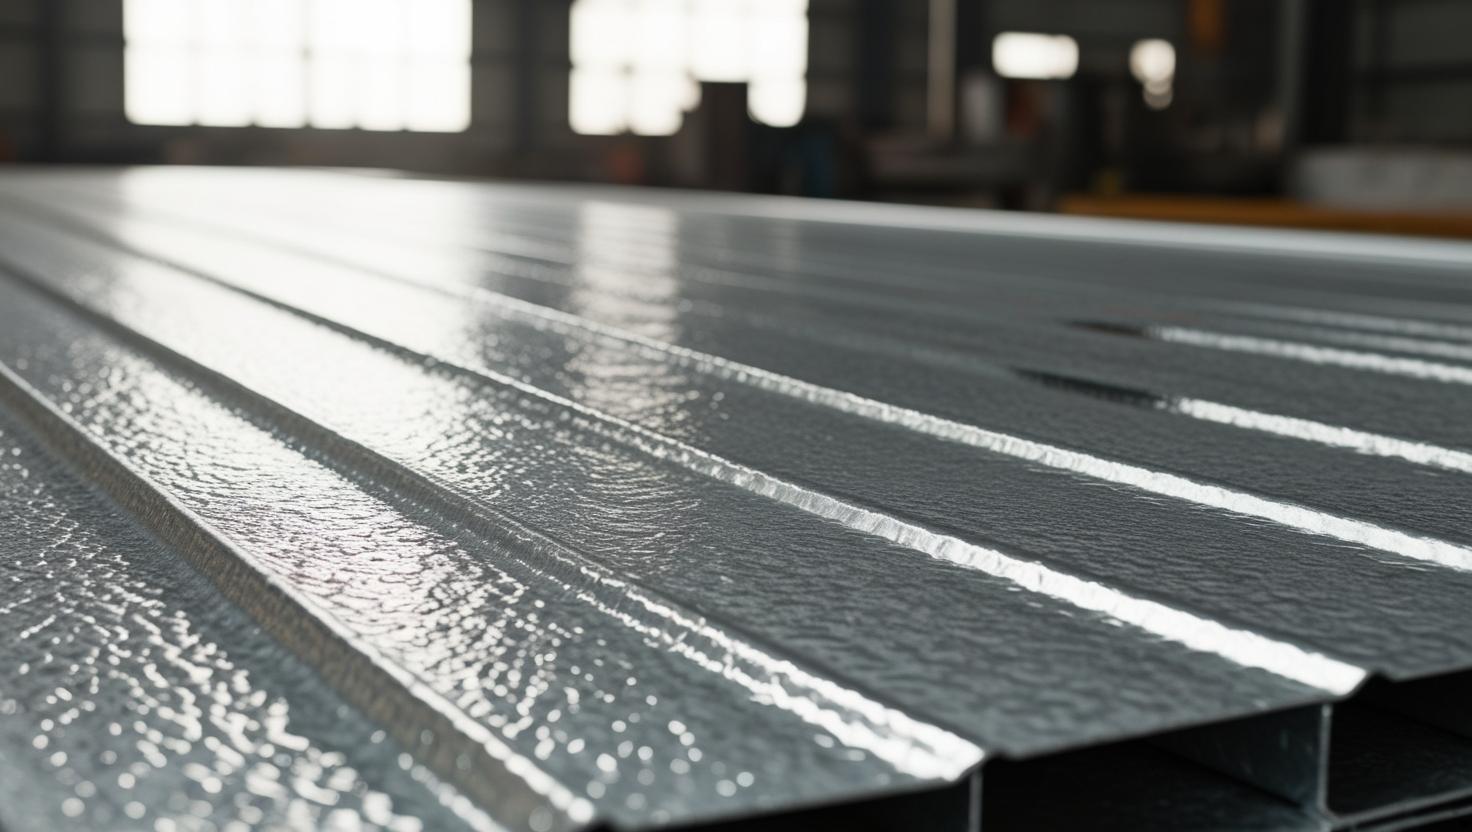
Galvanized sheet is a type of iron obtained from steel where it has been coated with zinc. This zinc element gives the product an additional security as it does not corrode quickly or develop rust when placed in the outdoors. However, this same feature of having a protective layer causes the metal to be challenging to paint as it has to undergo processes to allow for adsorption of the paint and formation of a strong layer.
Tools and Materials You Will Need
- Safety goggles and gloves
- Sandpaper (120 and 220 grit)
- Wire brush or a stainless-steel brush
- Primer (particularly for application on galvanized metal structure).
- Paint its body using acrylics or oil-based enamel paint.
- Paintbrush or spray gun
- Clean cloths
- Degreaser or mineral spirits
- Tack cloth
- Drop clothes or newspapers to protect the working area
Safety Precautions
There are basic rules of precautions to take into consideration when dealing with metals and chemicals always ensure that safety comes first. Handle the chemicals with gloves and safety glasses to avoid any form of scratch on the skin and eyes. Before starting your painting job always ensure that there is proper air circulation in your working environment if you are using spray paints or any solvents.
Step 1: Cleaning the Metal
The following is the process on painting galvanized metal for the first time clean the metal with the brush repeatedly Therefore the first step in painting galvanized metal is cleaning the surface accordingly. These need to be removed before they paint their wall because they will affect the proper sticking of paints.
Remove Dust and Debris
When cleaning the surface, it is advisable to start with a clean cloth that will be useful in removing debris that is loosely present on the surface. It is also possible to use a tack cloth as a final wipe to make the surface free from dust.
Use a Degreaser
You should apply a degreaser or mineral spirits on metal in order to remove any residues that may have deposited on them over a while. Allow it to rest for some time and then wash with a cloth and soap and rise it with some clean water. The customer must make sure that the surface of the metal has no traces of moisture or any other form of dampness before proceeding to the next step.
Scrub with a Wire Brush
For the particularly tough stains, one should use a wire brush or a brush with stainless steel bristles. To clean, one should be keen and wash it softly to ensure that they eliminate any contaminant that may be present or any form of zinc oxide which builds up when the metal is exposed for a long period. Don’t spend too much time sandblasting this substrate, since the material is zinc that will serve as the protection for the steel.
Step 2: Sanding the Surface
Sand the galvanized sheet metal particularly as it provides a surface on which the primer will stick well on.
Follow these steps:
Start with Coarse Sandpaper
Start with newspaper with 120-grit to slightly roughen the metal surface. The first time when sanding is done will serve to facilitate better adhesion of the primer on the surface of the wood. Sand the whole area to have a uniform layer formation to prevent grooves.
Finish with Fine Sandpaper
When the whole surface has been roughened use the 220-grit sand paper to smoothen the surface. This higher grit will further refine the surface that is created by the coarser sandpaper so as to create the general surface that is required for the application of the primer.
Clean the Surface Again
After sanding it is necessary to clean from remains of dust and various kinds of debris. These are easy to use and the best one should be used to clean the surface of the furniture properly using a tack cloth. Any material which may still remain on the surface can hinder the bonding of the paint to the surface.
Step 3: Applying Primer
Apply the Primer Evenly
There should be specific directions that come with the can of primer and these should be followed. Use a brush or a spray gun as per guidelines and the kind of job. Firstly, use at least two coats of primer and ensure that before applying the second layer, first layer of the primer is completely dry.
Ensure Proper Ventilation
When using a spray gun or aerosol spray primer, work under a well-ventilated space to avoid breathing in the fumes. Open all windows and, if possible, use a fan to let in air in the room.
Step 4: Painting the Metal
After the primer is dried, one can go ahead and paint the metal with the paint of the required colour.
Choose the Right Paint
Select such automotive paint as acrylic or oil enamel paint in order to get a better result. These types of paints provide good properties of adhesion to metal substrates and long-term resistant coatings.

Apply the First Coat
Use a paintbrush or a spray gun to apply the initial coat. Start at the edges and move towards the middle in the clockwise where the first step involves the edges. The application should be kept even in order to prevent dripping and running. Apply the first coat and let it dry for a few.
Apply Additional Coats
Apply a second coat for better coverage of all the areas and to ensure they are protected adequately. In the case you are using spray paint, be certain that each coat that you apply is not thick.
Final Inspection
After the final layer has been applied, check whether there could be some part left out or portions of the floor that has been over-coated and require evenness. Wash if necessary to make the smoothing possible with a finishing touch.
Step 5: Curing Time
Depending on the type of paint and other environmental conditions present at the site, it could take anywhere from 24 to 48 hours to cure. At this point, while the paint dries, it creates the skin and gains strength on the surface.
